Happy weekend friends! A few weeks ago, I told you about my brand new, diy, camera bag. If you missed it, it’s basically a Roxy Figment Bag and a Temba insert combined to form a super bag! Since its introductory post, I’ve had the opportunity to use it on two shoots, and I have to say… it is awesome!
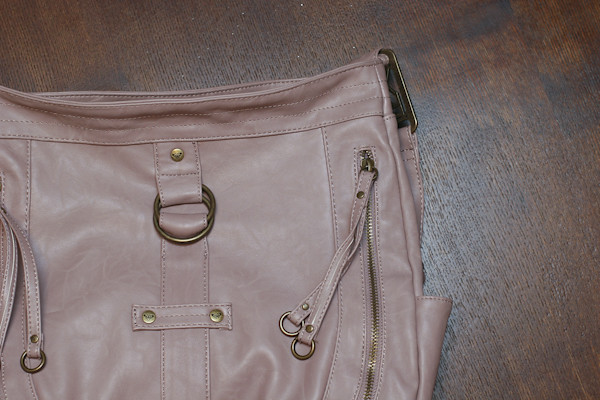
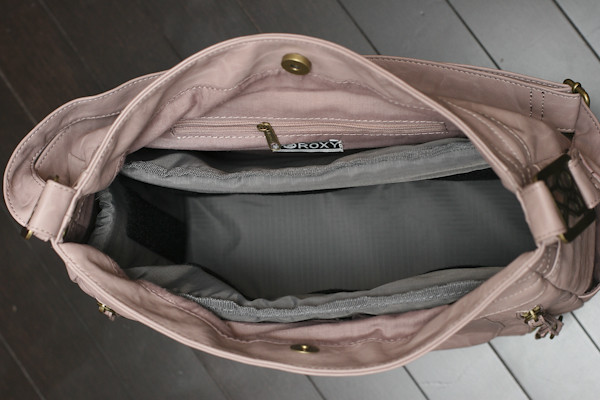
The basic pieces are my new Roxy bag,
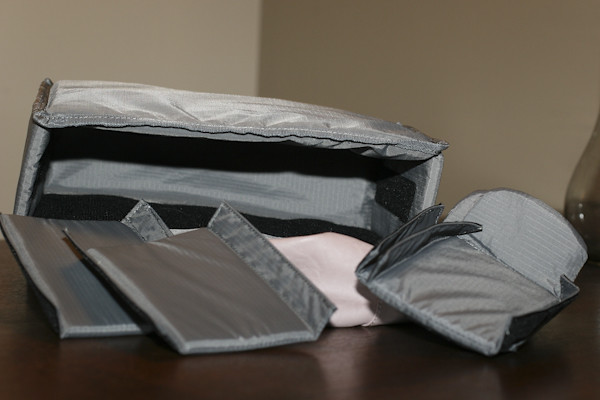
and the Temba insert. Which is a lot more grey than it looks on Adorama’s website!
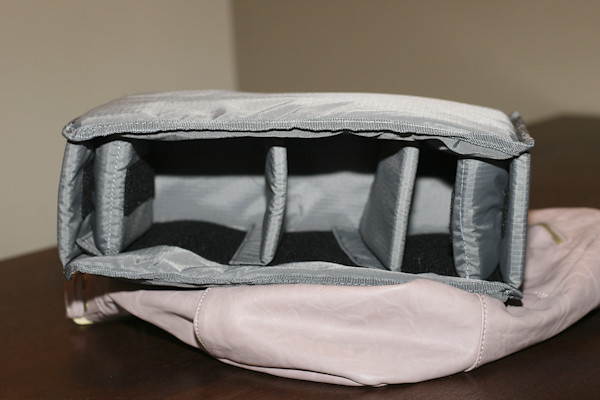
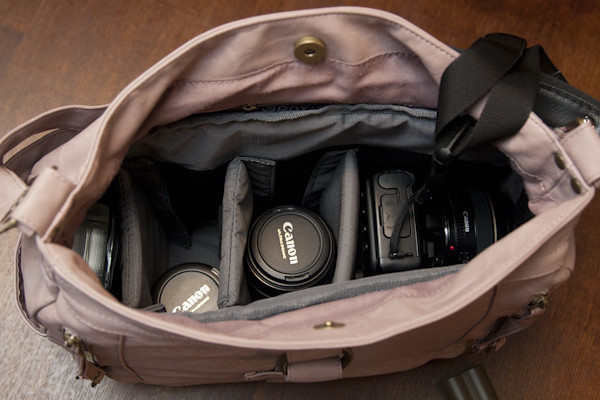
As I mentioned, the Temba insert is super sweet because its four dividers can be added in in any combination. 2 of the dividers are totally straight, and two have little flaps at the top. I haven’t quite figured out what the flaps are for, and have used those inserts upside down so far. Any ideas?
The temba insert is a little squishy in the bag. It’s almost perfect, but it would be a smidge better if the bag was 1 inch wider. In all honestly, nowhere on the internet provided me with proper dimensions of the temba insert, so I sort of lucked into it fitting at all! If you have stumbled upon this blog looking for the outside dimensions, they are: W: 13.5″ D: 5″ H: 9.5″, as measured by me.
But as you can see, it was pretty darn close.
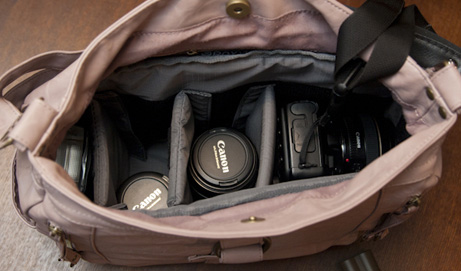
So, for my first shoot I was taking my Canon 30D with a 50mm 1.4 on the body, an 85mm 1.8, a 24mm 2.8 and a 430EXII flash.

And as you can see, this combination fits easily with room to spare.
Memory cards fit in the front pocket, and my iPhone in the side pocket.

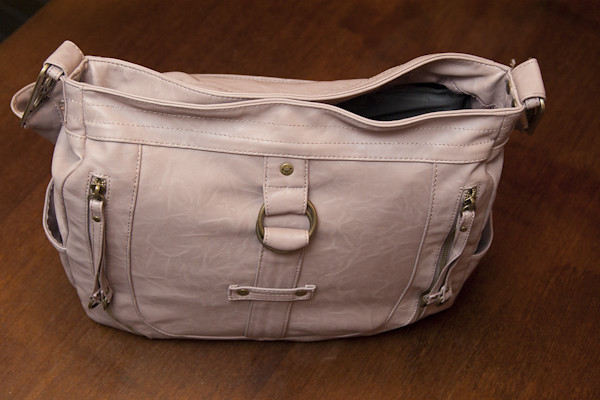
It snaps up! Which is extra great for travel!
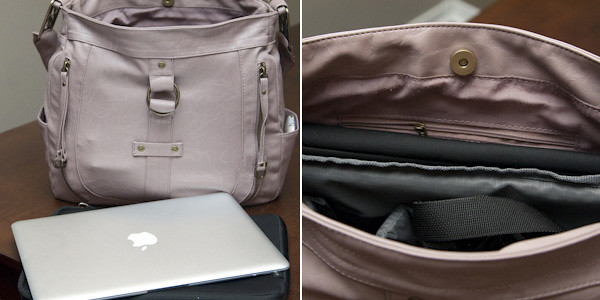
Part of the the reason that I went with this set up was because I want to be able to fit my laptop in the bag when I travel. This is going to be my main carry on. So, the ultimate test was, does my macbook air fit when it is full of camera gear? And it does, like a glove. Unfortunately for you 15″ macbook pro users… it’s a no go. It’s too wide, and too tight.
You can see that I had originally put my spare batteries in the other front left pocket. That looked bad, so I moved them to a side pocket after the photo was taken.
In terms of utility, this set up was perfect. Seriously, perfect. The snap closes shut when wandering around the city streets, so no one has any idea that this is a funky girl bag full of thousands of dollars of gear. Then, come photoshoot time, it unsnaps and stays wide open. It’s easy to reach in and grab whichever lens I’m looking for.
Last weekend, I took it out with my brand new Canon 5D Mark II (eeeeeeeee!!!!!!). The new body is quite a bit bigger, especially with a lens attached, but I was able to fit my 5D Mark II with the 85mm 1.8 on the body, my 50 1.4mm and my 24-105 L 4.0 in the bag, with some room to spare.
For travel, I will leave the lenses off the body, this will free up lots more space. I usually travel with a 50mm and the 24-105 L 4.0. With the full frame sensor, I will probably start to bring along the 85mm as well. For the actual travel part of travel, I will pack the body with no lens in one pocket, fit the two prime lenses in another pocket, and the 24-105 in a third pocket. This will leave the fourth pocket for the other things I need, like memory card readers, external hard drives, powercords and my kindle! When out and about, I’ll pack it like any other photoshoot!
All in all, I’m super pumped about this new bag. And the best thing is that when I tire of my $30 Roxy bag, I can pick up something new, like this or this… yippee!