Please excuse the terrible pun. Given my new home decorating bent, I’ve been reading a lot of Young House Love and the cheesy title puns are rubbing off on my like crazy!
So. Bread. I’ve tackled bread a couple of times before: this delicious beer bread that I mistakenly thought used the yeast in the beer to be yeast, but just is a yeast-less bread; and this banana bread (that is actually more like cake in a loaf pan). Note: Has anyone else ever wondered why carrot cake is called cake and banana and zuchinni breads are called bread? Does anyone out there know?
The reason it has taken me so long to try a “real” bread is only five letters long: Y.E.A.S.T. Those little guys scare the heck out of me. I don’t know how to use yeast… It’s ALIVE for heaven’s sake!
But, living with our friends Sam and Graham for a month inspired me (Graham is quite the baker), so when we went shopping I bought all my bread ingredients: 10kgs of flour, yeast, salt, sugar and other things I thought you needed for bread but in fact you don’t (baking soda, baking powder, etc.)
Then I went googling for a bread recipe. Don’t do this people. This is SCARY. Making bread sounds hard. Everyone has rules. Everyone says different things. I was throughly intimidated. So intimidated that it took me a good five days before I tried. But I’m so glad I did.
Since I bought a loaf pan, I decided to make a whole wheat bread for sandwiches. I found this recipe for whole wheat oatmeal sandwich bread and got started.
I quickly realized that a) I didn’t have bread flour (just all purpose flour, I didn’t realize bread flour was a thing), b) I didn’t have honey or molasses and c) I didn’t have 3 hours to make my bread. So I made some tweaks. Yes… you read that right. In my very first yeast using experience of my entire life, I made tweaks. Some might call me crazy. I call me adventurous.
The bread flour, I substituted for all-purpose flour, the honey and molasses I substituted for 2 TBSP of sugar, figuring that I would lose the colour but maintain a bit of sweetness. The time… well, I’m actually pretty proud of myself for this one. Bread generally rises twice. Once in the bowl and then once in the pan. Each rise takes about an hour. That being said, the consensus on the internet is that it is better to do a long, slow first rise overnight. So I did. And it worked, woohoo!
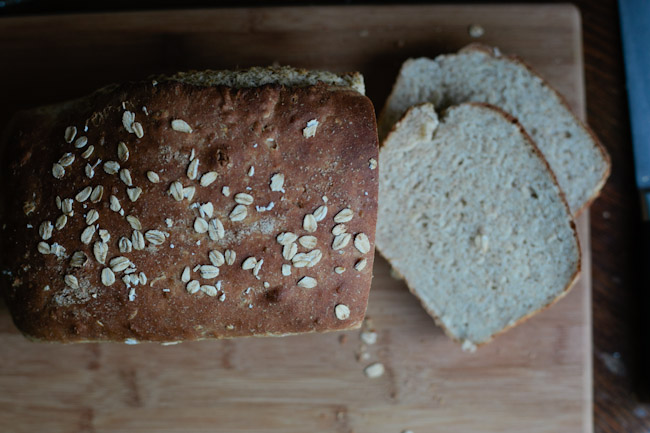
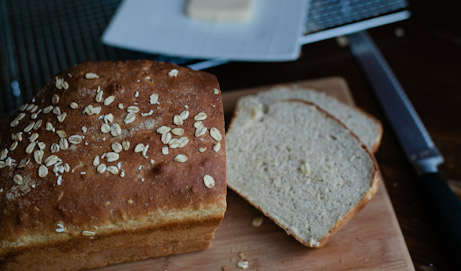
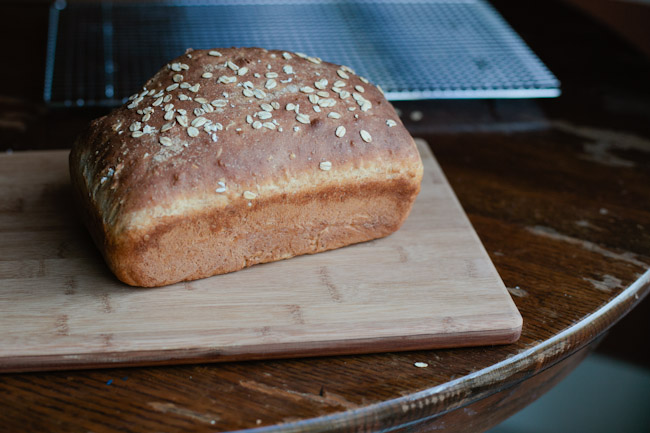
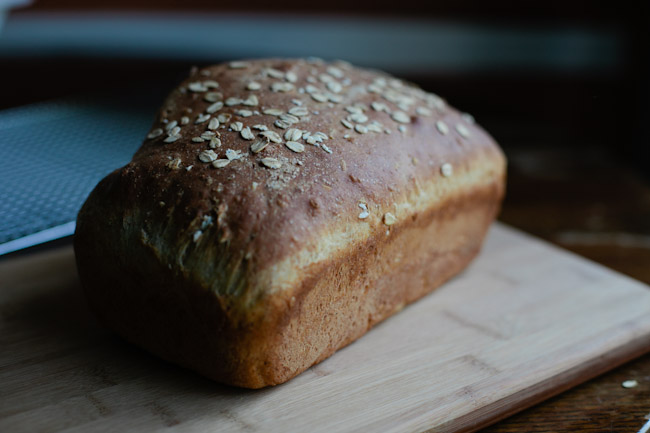
My bread turned out amazing (though a little deformed), so I’m going to give you my very own (adapted) bread recipe.
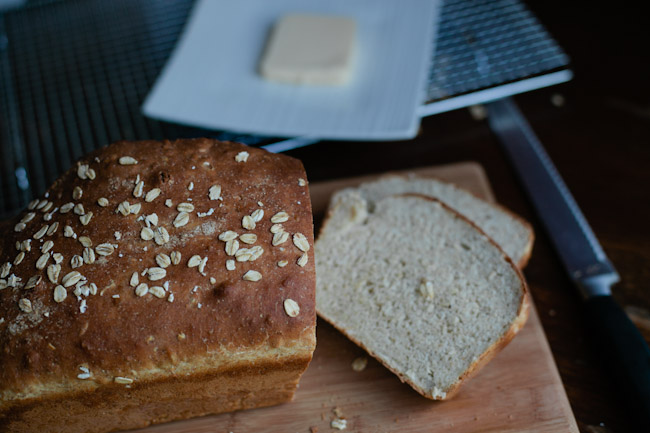
Whole Wheat Oatmeal Sandwich Bread
Adapted from White On Rice Couple
Makes 1 Loaf
Ingredients
- 1 cup water
- 1 cup milk
- 1 tbsp active dry yeast
- 2 tbsp sugar
- 2.5 cups whole wheat flour
- 2 cups bread flour (I used all-purpose flour because I didn’t realize bread flour was a thing, so don’t beat yourself up too much if all-purpose flour is all you have)
- 1 cup rolled oats
- 4 tbsp unsalted butter (melted and cooled)
- 1 tbsp table salt (or sea salt if your fancy)
Directions
- Gently warm the water and milk to about 115F (just hotter than hot tub temperature when you stick your finger in it to test). Combine water, milk and yeast in the bowl of a stand mixer. (You can test to make sure your yeast is good by waiting about 5 minutes to see if it bubbles. I’m a newbie, so I did this, and my yeast bubbled, woohoo!)
- Add flour, oats, sugar, salt, and melted butter to the mix. Using a dough hook, mix for about 6 minutes on medium. (This is a really good tip from the original recipe: The dough should climb the dough hook and slap around the sides of the bowl without sticking. If the dough is sticking, add a tablespoon or two more of flour at a time until the dough comes cleanly away from the sides of the bowl. I just kept slowly adding flour until it wasn’t sticky anymore.)
- Cover the bowl with a moist tea-towel and do a first rise until the dough has roughly doubled in size. There are two alternatives for this rise: 1) in a warm place for an hour, or 2) a long slow rise overnight in your fridge.
- Lightly butter a 9x5x3 loaf pan.
- Shape the loaf. I’m going to give you the instructions verbatim from White on Rice Couple, you tell me if you understand: “Put the dough on a lightly floured work surface. Flatten out the bubbles while working the loaf into a square shape. Grabbing the top edge, fold the dough down towards the middle. Grab the bottom edge and fold up to the middle, bringing the two edges together. Pinch the seam and sides, sealing them with your fingers. Roll the dough back and forth, plumping it into an even log and about the size of your bread pan. Gently place the dough into your bread pan, seam side down. Press the dough gently into the corners of the bread pan”.
- Cover the loaf with a towl and leave to rise in a warm area for about an hour or until it rises again and puffs up over the edge of the pan. My bread didn’t get this high (it puffed up just to the top of the pan), but turned out just fine. Meanwhile, preheat oven to 400F.
- Lightly sprinkle the top of the bread with oats. This looks freaking awesome. Bake for 40 minutes, turning your loaf half way through. The bread is done when it sounds hollow when tapped. I’ve read in several places it is much better to over-bake than under-bake bread, so err on the side of too much cooking.
- When done, remove from loaf pan and let cool completely on a baking rack.
- Then enjoy. And pat yourself on the back for successfully conquering yeast. And then try to avoid gaining 200lbs because your bread is so freaking delicious.
